The Project Directory is used to enter project participant information. The information is pulled from the Global Directory which is a list of all contacts for the company.
Quick Links
Use the links to quickly jump to the steps in the article below.
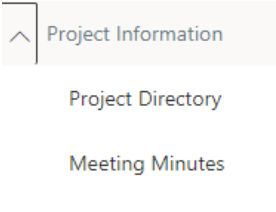
- Select Project Directory from under the Project Information Menu.
Note:
There are multiple ways to look at the Action Item information with the use of views. The views available are:
▪ All Contacts
▪ Contacts by RoleTo learn more about views, click here
- Click on Add Contact

- If the contact already exists in VPO, follow the instructions in this step. If the user does not already exist in VPO, refer to Step 4.
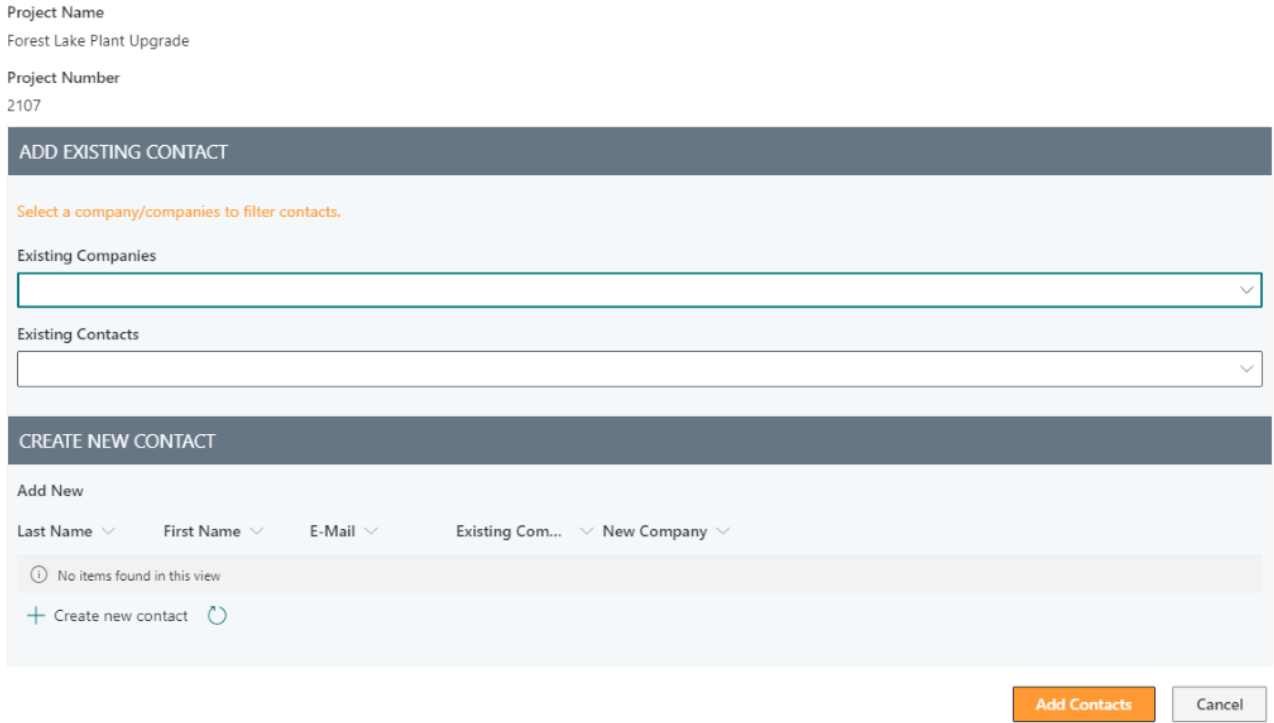
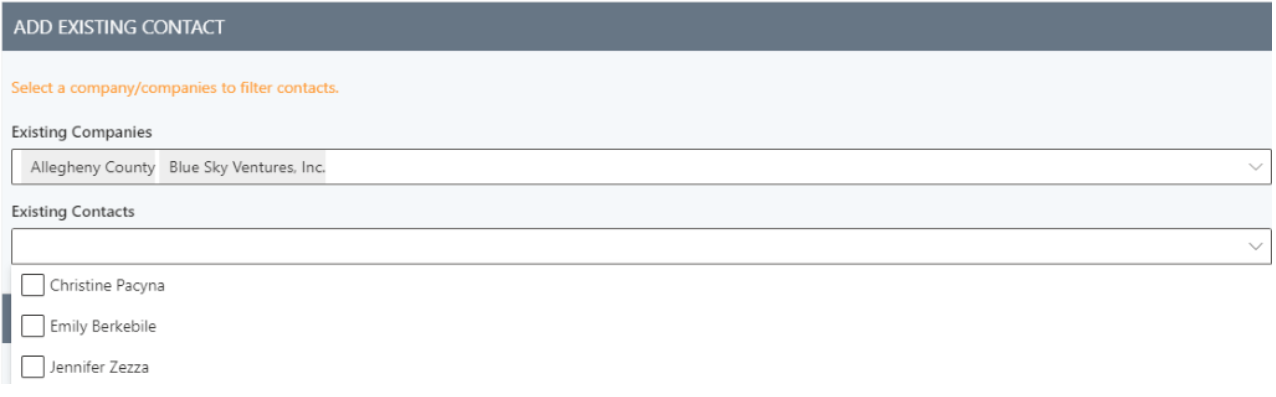
▪ Select the appropriate Existing Companies for all companies you wish to add to the project directory. The Existing Contacts will display. Select the appropriate contacts.
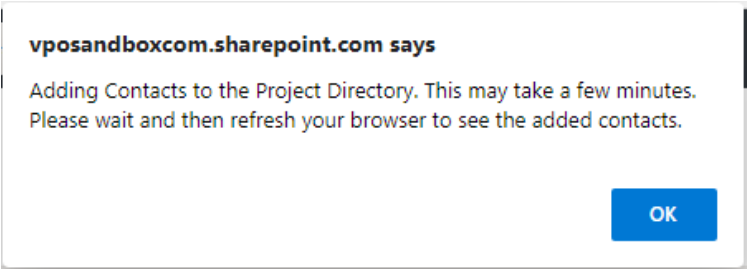
▪ Click Add Contacts and the following pop-up will display. Click OK
▪ The Project Directory will display with the new contacts added.
- If the contact does NOT already exist in VPO, follow the instructions in this step. If the user does already exist, refer to Step 3

▪ Click +Create new contact and enter the following information in the CREATE NEW CONTACT Section:

IMPORTANT:
Any field with an asterisk * is a required field and must be entered.
▪ First Name: The contact's first name
▪ Last Name: Required field which is the contact's last name
▪ Company:
▪ If the company already exists, select it from the Add to Existing Company drop-down:

▪ If the company does not exist, select Yes for Create New Company? and enter in the New Company.

▪ Job Title: The job title for the contact
▪ E-mail: The email address for the contact
▪ In the PHONE Section, enter the following:
▪ In the ADDRESS Section, enter the following:
▪ In the WORKFLOW Section, enter the following:
▪ Click Save and Close
▪ Click Add Contacts and the following pop-up will display. Click OK